
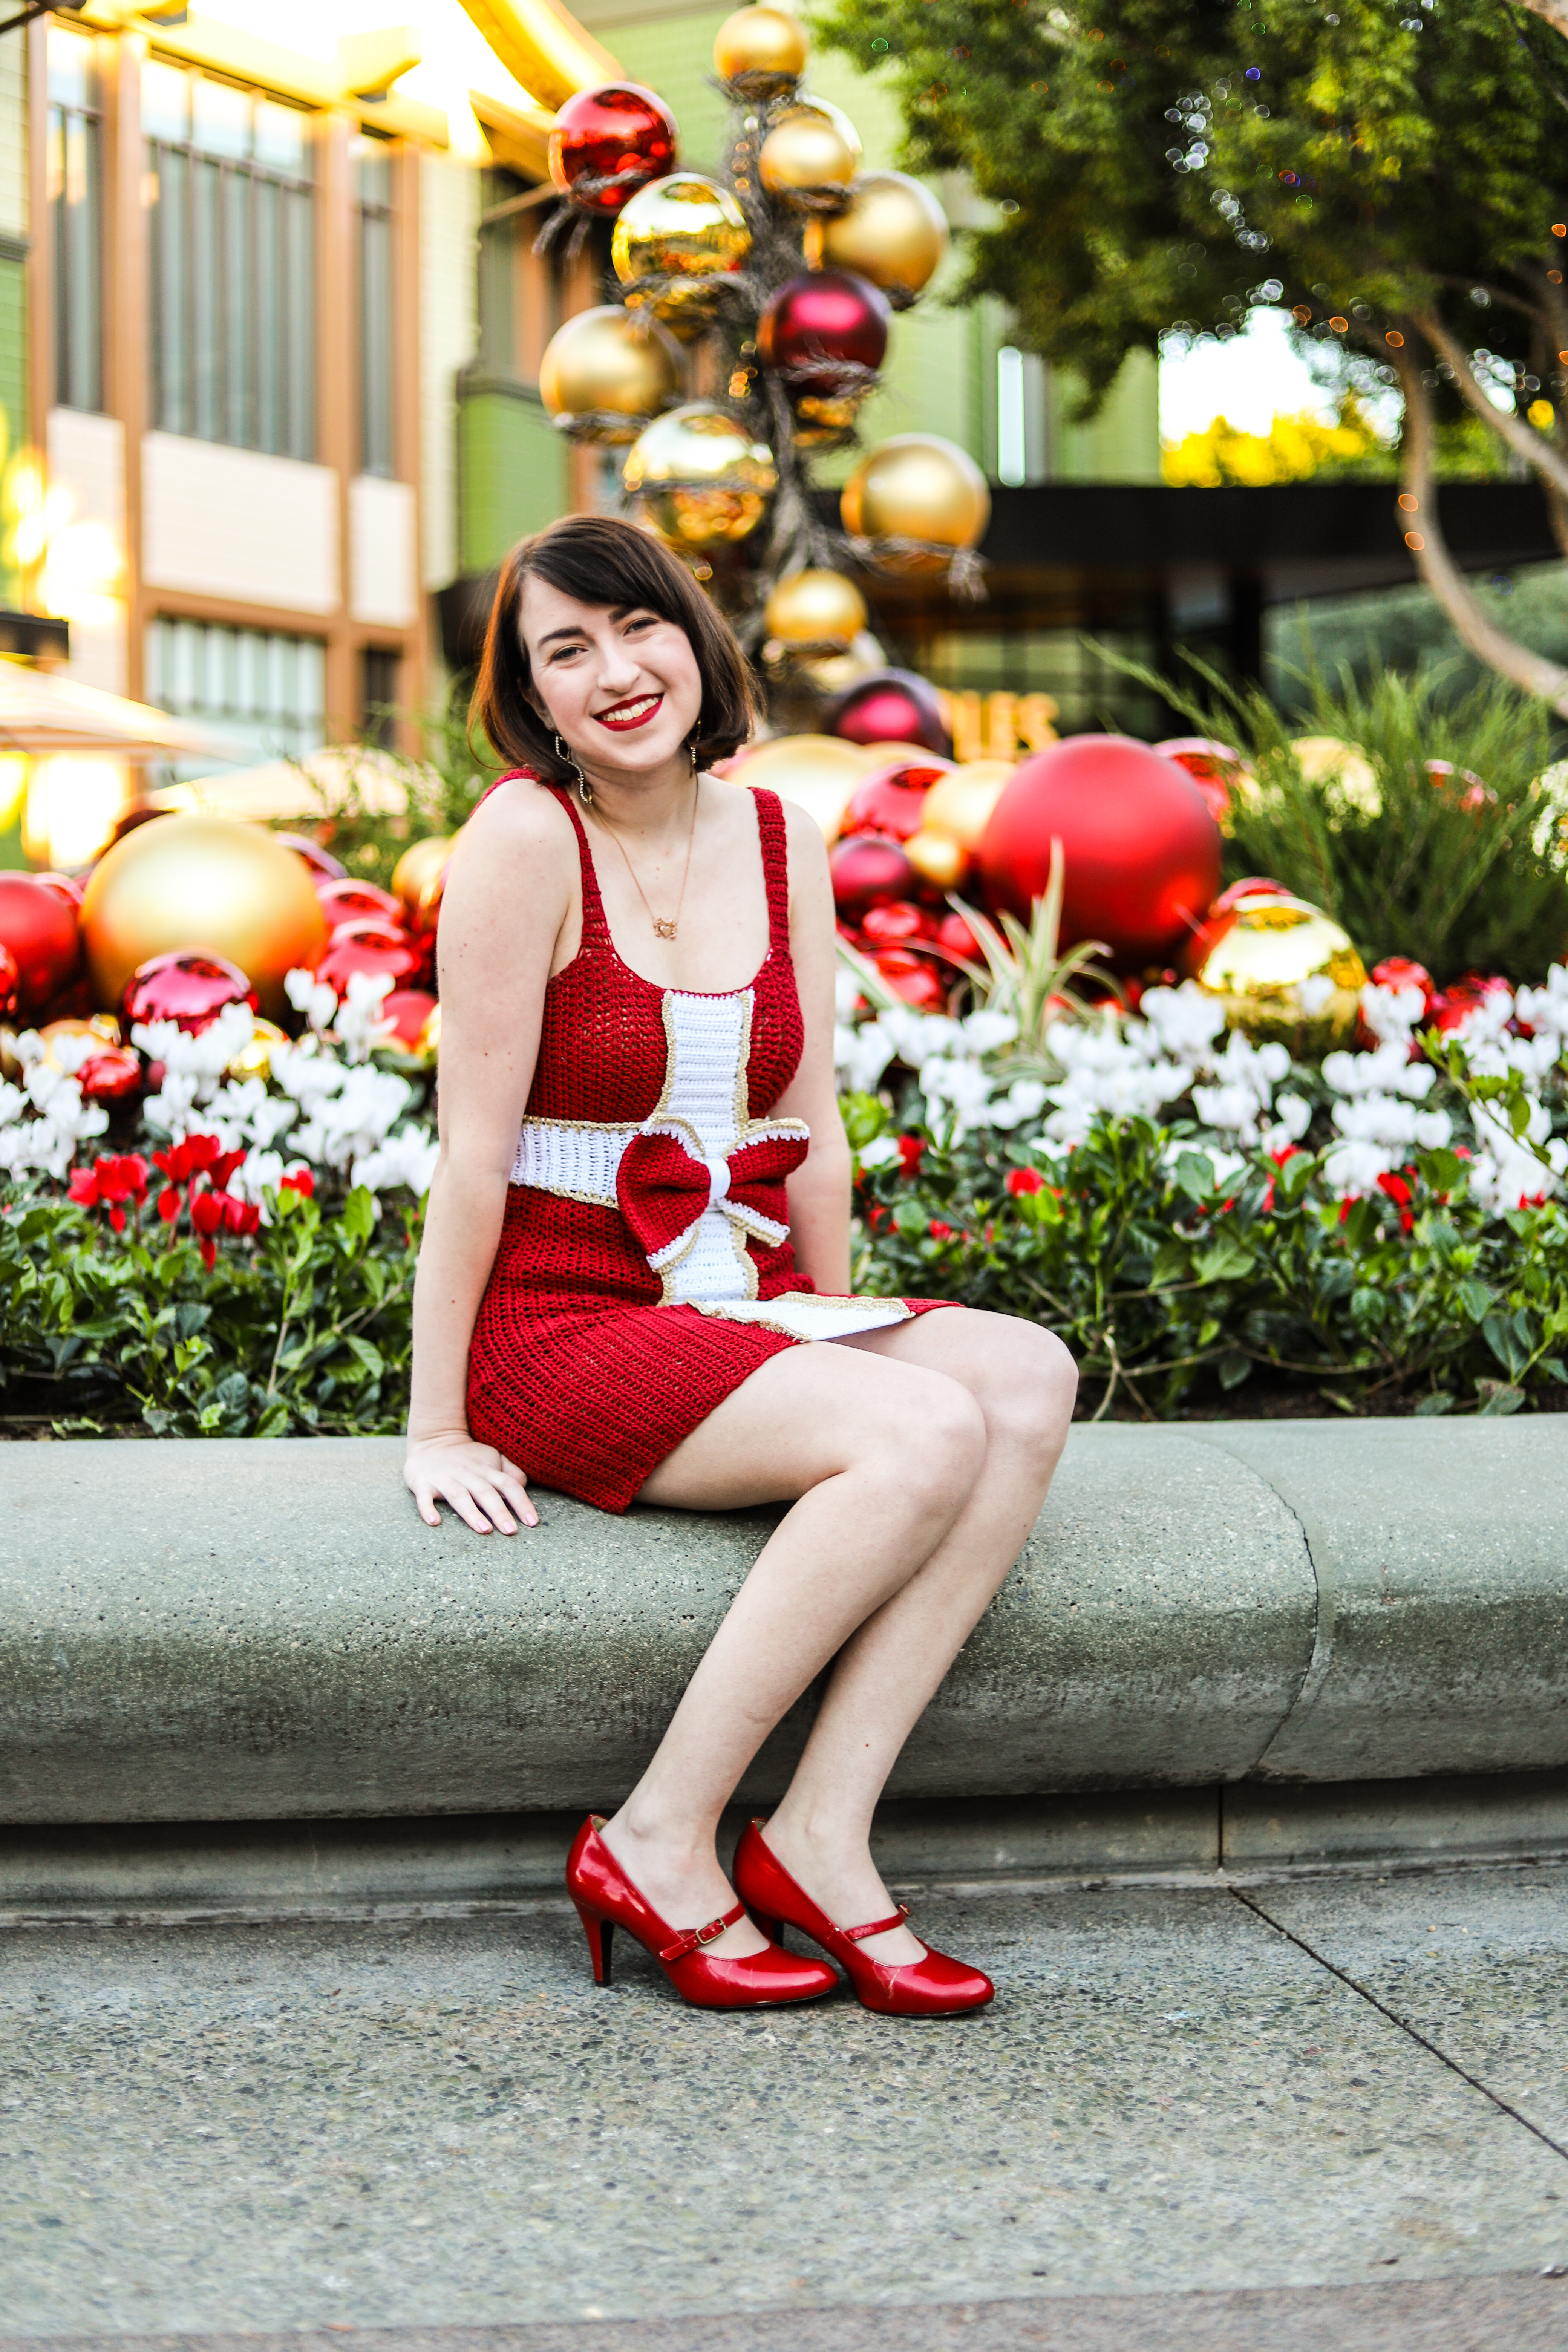
Well it is that time of the year guys! I am a huge lover of the Holiday season (which to me is actually Halloween to New Years) but Christmas has a special kind of feeling that comes with it that is hard to find during the rest of the year. Pretty much everything about this season feels super cozy and comfortable, with the exception of the sun setting at 4pm, seriously not a fan of that nonsense. Although I love the Fall season just as much, the transition from Summer to Fall always tends to get me a little down, so it is always nice to have the cheer of the Holidays to lift me out of my slump. With that uplift of spirit usually comes new inspiration for designs! I have been having a hard time finding creative motivation these past few months and this is one of the first designs in a while that actually came easy to me and it is called The Wrap Me Up Dress!

Last year I made a Christmas Tree Dress which was something that I had wanted to make for a few years before I actually took the leap. Ever since then, designing “Ugly Christmas Dresses” every year is a pretty darn enjoyable goal of mine. So this year I found my design inspiration in Gift Wrapping! Personally, I am just not good at gift wrapping, but man are there some present wizards out there who can use wrapping paper and bows to turn a plain old box into a true work of art.
This is one of the first dress designs that I have made that isn’t fitted, (half of the reasoning behind that is definitely because doing the math for fitted patterns in not my favorite activity haha) but the horizontal ribbon ties in the back to help it fit tightly to your waist and create the illusion of being fitted! The pattern is a little bit time consuming as it takes a little bit of time to work up the main body section; however, it is not a difficult pattern by any means! So let’s jump in shall we?
Materials:
The pattern is written for a size X-Small and has instructions for additional sizes Small – 3XL.
- 4 (4,5,5,6,7,8) Skeins of DROPS Safran Yarn in Rust
- 2 (2,3,3,4,4,5) Skeins of DROPS Safran in White
- 1-3 Skeins of a Metallic Lace or Yarn to trim the Ribbon and Bow (I cannot seem to find the tag for the one that I used so I have no idea what it was!)
- Any combination of 4 Ply Weight Yarns will also work for this pattern. I know 4 Ply is rather thin (which is why working up the dress is a little time consuming) so if you wish to use a thicker yarn, just note the gauge for the pattern and compare it to the gauge for whatever yarn you choose.
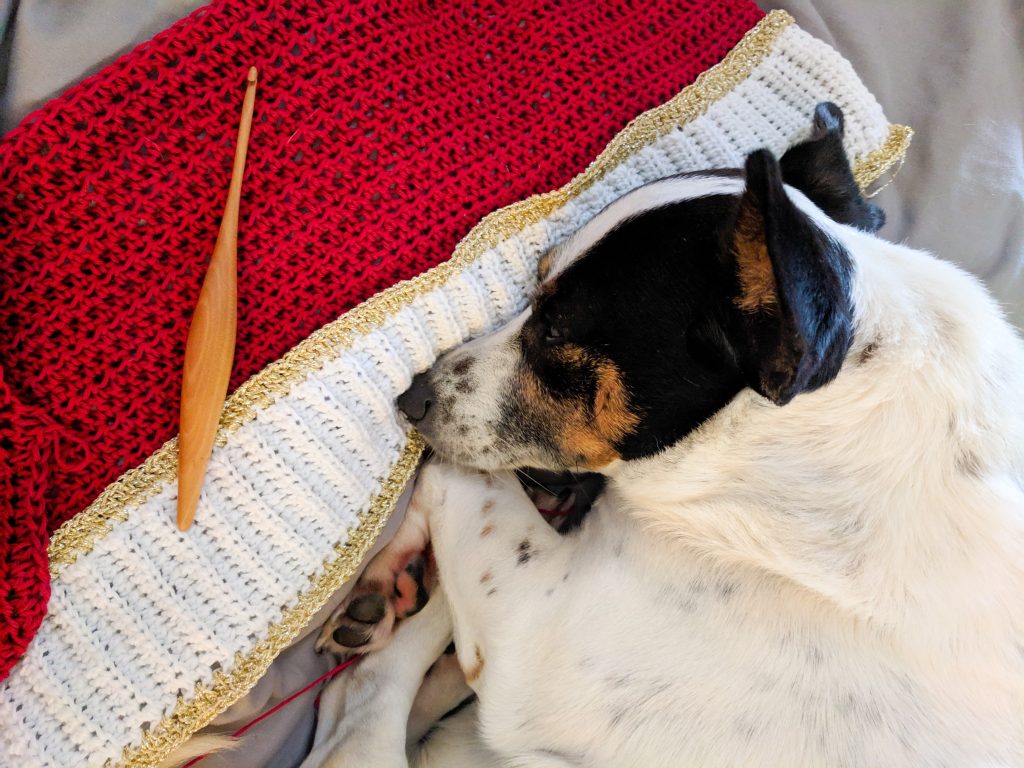
- 4.00 Crochet Hook
- I used a Furls Odyssey Hook
Final Measurements:
Since the dress is not actually fitted, it will be a rectangle that is sewn into a tube and will be one measurement all the way around. The measurement in the parenthesis is the actual measurement of the dress and the measurement out of the parenthesis is the standard body measurements that it should fit.

Gauge:
- HDC – 4 stitches X 3 rows = 1″ X 1″
- SC – 4 stitches x 4 rows = 1″ X 1″
Abbreviations:
- CH – Chain
- SC – Single Crochet
- HDC – Half Double Crochet
- DC – Double Crochet
- SS – Slip Stitch
- C1 – Color 1 (White)
- C2 – Color 2 (Red)
- C3 – Metallic Border Color
So as I mentioned before, the body of the dress is generally going to be a rectangle that gets sewn into a tube; however, the first thing we will be working on is the Vertical Ribbon on the front of the dress.
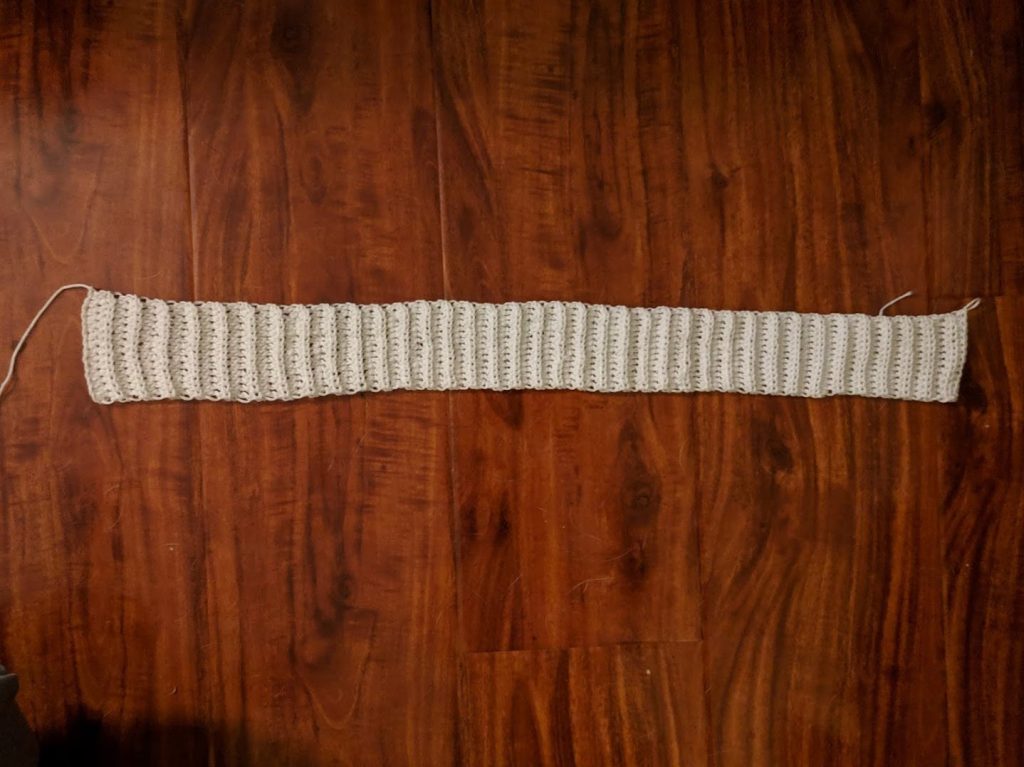
Vertical Ribbon (In C1)
Foundation
Chain 15
Row 1:
- HDC into the 2nd chain from the hook
- Work a HDC stitch into each chain until the end of the row (14)
- Chain 1 and turn
Row 2 – 76 (82,88,94,100,106,112):
Feel free to adjust the amount of rows you work based on the desired length you would like for the dress. Also not that you will be working in the back loop of the HDC stitches, this will create a ribbed effect, giving the ribbon texture.
- Work a HDC into the back loop of each stitch until the end of the row
- Chain 1 and turn
When you reach the last row, do not cut and tie off as you are going to be working HDC stitches along the border of the ribbon.
When working the border, make sure you work 14 HDC stitches along both the Top and the Bottom parts of the ribbon, and however many rows you worked down each side of the ribbon. Once you have completed the HDC border, you can then cut the yarn and tie off.
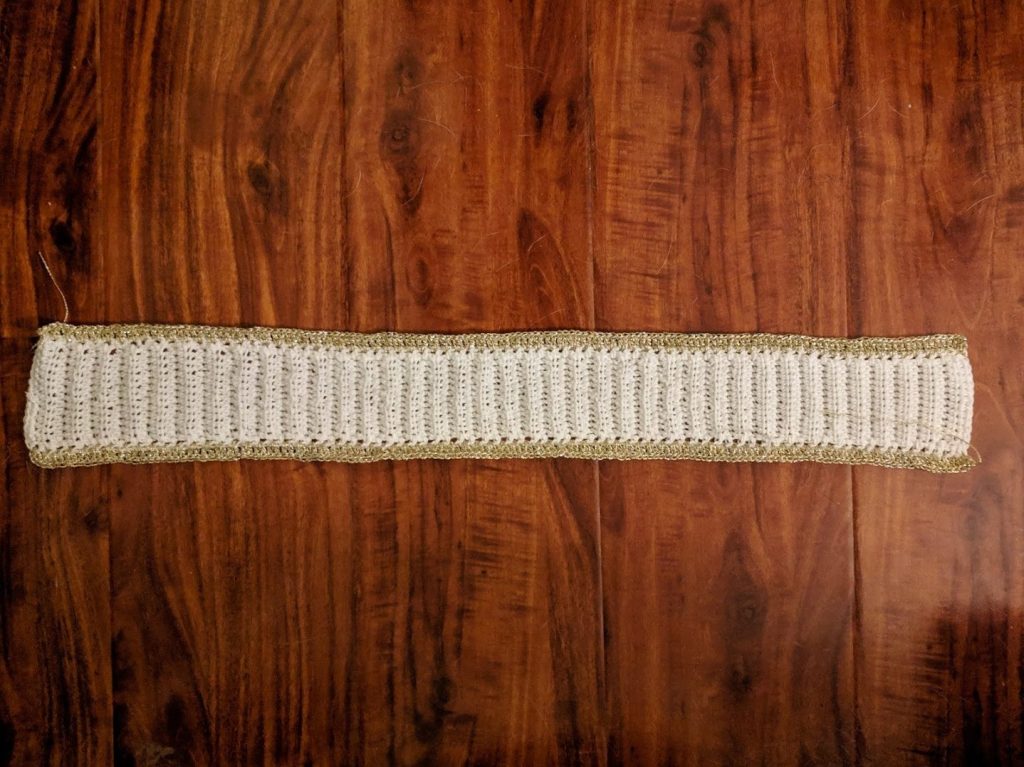
Vertical Ribbon Metallic Border (In C3)
Now we are going to be working a second “border” on the vertical ribbon. I put quotation marks because this border will only be going on the sides of the ribbon and will not be worked on the top or bottom sections.
The previous border was worked with HDC stitches for a specific reason. When working HDC stitches you create 3 “loops” (a front, middle, and back), this is important to note because this Metallic Border is going to be worked in only the front loop of the HDC stitchesa
Row 1:
- Work 2 DC stitches into the front loop of each HDC stitch along the side of the ribbon.
- Tie off and cut
Repeat this step on the other side of the ribbon, but make sure that you are still working on the same “side” of front loops (definitely keep wanting to type Froot Loops)
Now you will have finished you Vertical Ribbon! Next we are going to be working into the back loops of the ribbon to start creating the body of the dress.
Body of the Dress (In C2)
Choose either side of the ribbon (it really doesn’t matter) and we will be working along the side into the other two loops left of HDC border. Note that for this section you do not have to work into the back loops of the HDC, but can work it as a normal HDC.
Row 1:
- HDC into each of the back loops of each stitch of the side of the ribbon
- Chain 1 and turn
Row 2 – 76 (82,88,97,106,115,124):
- Work a HDC into each stitch until the end of the row
- Chain 1 and turn
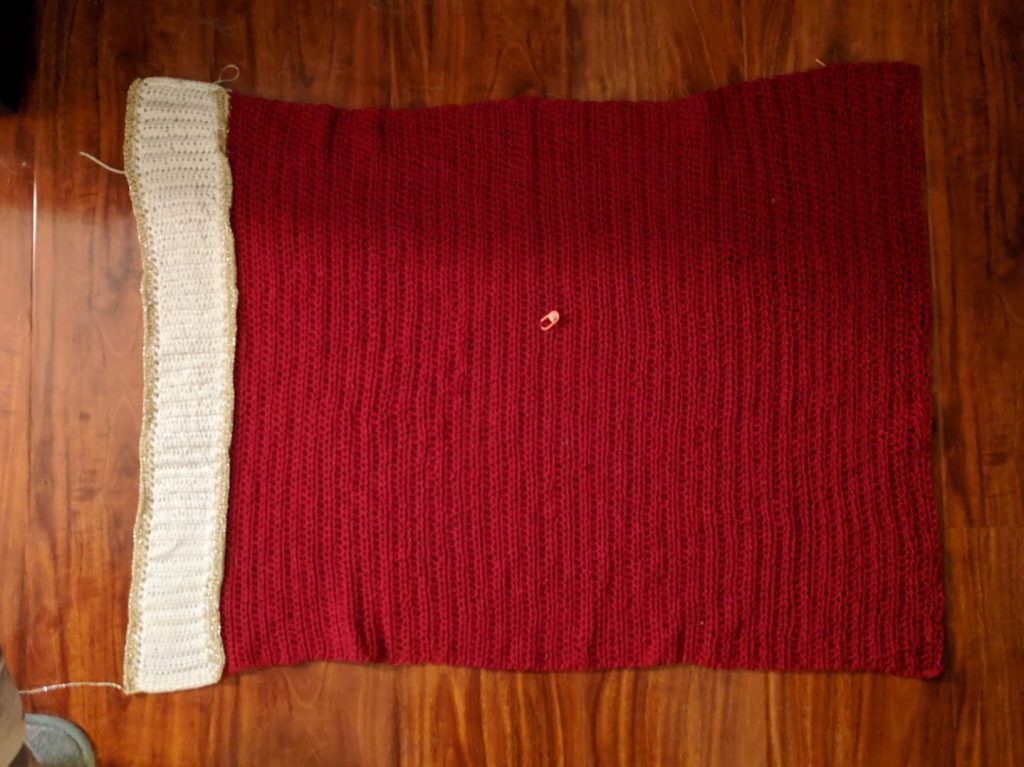
Once you have completed the proper amount of rows to reach the desired body measurement, you will then sew the end of the body section to the other side of the Vertical Robbin (into the last two loops). This will then create the tube shape for the body and we can then move onto the next step of creating the Horizontal Ribbon.

Horizontal Ribbon (In C1)
This section is going to be a little personalized. The Horizontal Ribbon should be placed right below the bust and since everyones bust is different, the placement of this section should be specific to the person creating the dress. All you have to do to know where to place your band is to slip the body of dress on (it should come up to the arm pit comfortably) and put a stitch marker right where the bottom of your bust lands. This point is where the top of the Horizontal Ribbon should go.
Starting at the top of the Vertical Bow count the number of rows down to where you place your stitch marker, keep note of that number so that each side of the Horizontal Ribbon can be worked in the same location on either side of the Vertical Ribbon.
You will be working the Horizontal ribbon into the side of the Vertical ribbon so it gives the illusion of being underneath it. So you will start working your first row at the point where you placed you stitch marker and since this will be the top of the Horizontal Ribbon makes sure the rest of your row work down the dress and not up it.
Row 1:
- Work 14 HDC stitches into the side of the Vertical Ribbon
- Chain 1 and turn
Row 2 – 20 (23,26,29,32,35,38):
For the designated amount of rows for your size, you will be working the same amount of HDC stitches
- Work a HDC into each stitch until the end of the row
- Chain 1 and turn
Row 21 (24,27,30,33,36,39):
- Work a HDC2TOG into the first two stitches
- HDC into each stitch across until the last two stitches
- Work a HDC2TOG into the last two stitches
Row 22 – 27 (25 – 30 , 28 – 33, 31 – 36, 34 – 39, 37 – 42 ,40 – 45):
- Work a HDC into each stitch until the end of the row
- Chain 1 and turn
Row 28 (31,34,37,40,43,46):
- Work a HDC2TOG into the first two stitches
- HDC into each stitch across until the last two stitches
- Work a HDC2TOG into the last two stitches
Row 29 – 34 (32 – 37 , 35 – 40, 38 – 43, 41 – 46, 44 – 49 ,47 – 52):
- Work a HDC into each stitch until the end of the row
- Chain 1 and turn
Row 35 (38,41,44,47,50,53):
- Work a HDC2TOG into the first two stitches
- HDC into each stitch across until the last two stitches
- Work a HDC2TOG into the last two stitches
Row 36 – 41 (39 – 44, 42 – 47, 45 – 50, 48 – 53, 51 – 56 , 54 – 59):
- Work a HDC into each stitch until the end of the row
- Chain 1 and turn
Row 42 (45,48,51,54,57,60):
- Work a HDC into each stitch until the end of the row
- Chain 1 and turn
Continue repeating this row until your Horizontal ribbon reaches a desired length to tie in the back
Repeat all steps on the opposite side to create the other side of the Horizontal Ribbon

Bow
Next we will be making the Bow that goes on the front of the dress! As a disclaimer, I added wire to my bow ( I just placed it behind my stitches when I started working the C2 row so that it was being locked into place naturally as I worked my normal stitches) this is not something you have to do if you don’t wish to, but it does really help give the bow more structure.
Foundation (In C2)
Chain 21
Row 1:
- SC into the 2nd chain from the hook
- Work a SC stitch into each chain until the end of the row (20)
- Chain 1 and turn
Row 2 – 52
- Work a SC into each stitch until the end of the row
- Chain 1 and turn
Next you will start working the border around the bow to add the other colors.
Also if you wish to make your bow larger, just add more stitches to the foundation chain, and more rows to the bow.
Border around the Bow
The border will be worked along each “long” side of the base of the bow. P.S. This is where I worked in my wire, if you wish to do the same!
Row 1-2 (In C1):
- SC into each stitch along the long side of the bow base
- Chain 1 and turn
Row 3 (In C3):
- Work a DC into each stitch across
- Tie off and cut
Repeat Rows 1-3 on the other side of the bow base so that you have a border on either side of the bow.
You will then sew the two “short” sides of the bow base together to create a tube. Create a nice “pinch” in the middle of the square where you feel like it makes a nice and even bow shape. Proceed to wrap the middle of the bow by taking C1 and winding it neatly around the middle, do this to your liking! When you have finished wrapping the middle of the bow, tie the excess yarn into the back to secure your wrapped yarn.
Once you have completed you Bow you must sew it onto the dress at the point where the two ribbons “intersect”. Now all there is left to do is the straps!
Straps
Since everyone has a completely different body, the straps will need to be placed on an individual level for comfort and efficiency (straps constantly slipping off is the worst feeling is it not? haha). For this I suggest slipping into the dress and putting stitch markers on the front of the dress on the spots where you think the straps would feel the most comfortable on you. Try to make them as even as possible.
After you have done this, take the dress off and find the point on each side of the dress from your top mesh section where the mesh meets the single crochet (this should be your “armpit point”) count the amount of stitches from this point to where you placed your stitch marker. Again do this for both sides, the amount may not be exactly the same for each stitch marker since you originally placed them by eye, but they should be close. Move the stitch markers so that they are the same amount of stitches away from the “armpit point” on each side.
Now count that same amount of stitches in the opposite direction (toward the back of the dress) on both sides, and place stitch markers there, this will make it so that your straps will be straight. The straps should be 5 stitches wide, so let the stitch marker indicate where your 3rd stitch should be.
Working on the front of the dress, starting 2 stitches to the right of the stitch marker, work 5 SC across. Chain 1 and turn. Continue working up the strap until it reaches the desired length. Personally I found the easiest way to decide how long the strap should be, was to measure the size of a strap on other dresses I own (it doesn’t have to be crochet) but keep in mind that the crochet will stretch, so I recommend making the straps a little shorter than whatever measurement you get from the other dress.
Once you have reached the desired strap length, sew it onto the the back of the dress where you have the stitch marker located. Just like when you start working the strap, you will begin sewing it on 2 stitches to the right of the stitch marker, and then sew it across 5 stitches and tie off.
Repeat all of these steps for the other strap as well and you are done with your Wrap Me Up Dress!!


I hope you enjoyed this pattern! I hope it gets you in a festive mood! As always if you have any question please feel free to reach out, and if you end up making this top tag me on instagram or send me a picture! I would love to see the final product! You guys are the best!
